CLI
Agent TARS comes with a powerful CLI that provides following commands:
agent-tars: Start with a Interactive UIagent-tars serve: Launch a headless serveragent-tars run: Run Agent TARS in silent mode and output results to stdoutagent-tars workspace: Manage Agent TARS global workspaceagent-tars request: Send a direct request to an model provider

All commands
To view all available CLI commands, run the following command in the project directory:
The output is shown below:
Common flags
Agent TARS CLI provides several common flags that can be used with most commands:
| Flag | Description |
|---|---|
-c, --config <path> | Path to configuration file(s) or URL(s), supports multiple values |
--port <port> | Port to run the server on (default: 8888) |
--open | Open the web UI in the default browser on server start |
--logLevel <level> | Specify the log level (debug, info, warn, error) |
--debug | Enable debug mode (show tool calls and system events) |
--quiet | Reduce startup logging to minimum |
--model.provider <provider> | LLM provider name |
--model.id <model> | Model identifier |
--model.apiKey <apiKey> | Model API key |
--model.baseURL <baseURL> | Model base URL |
--stream | Enable streaming mode for LLM responses |
--thinking | Enable reasoning mode for compatible models |
--toolCallEngine <engine> | Tool call engine type (native, prompt_engineering, structured_outputs) |
--workspace <path> | Path to workspace directory |
--browser.control <mode> | Browser control mode (mixed, browser-use-only, gui-agent-only) |
--planner.enabled | Enable planning functionality for complex tasks |
-h, --help | Display help for command |
agent-tars [start]
The default command (or explicitly using agent-tars start) runs Agent TARS with an interactive UI.
You can also run the interactive UI by simply using:
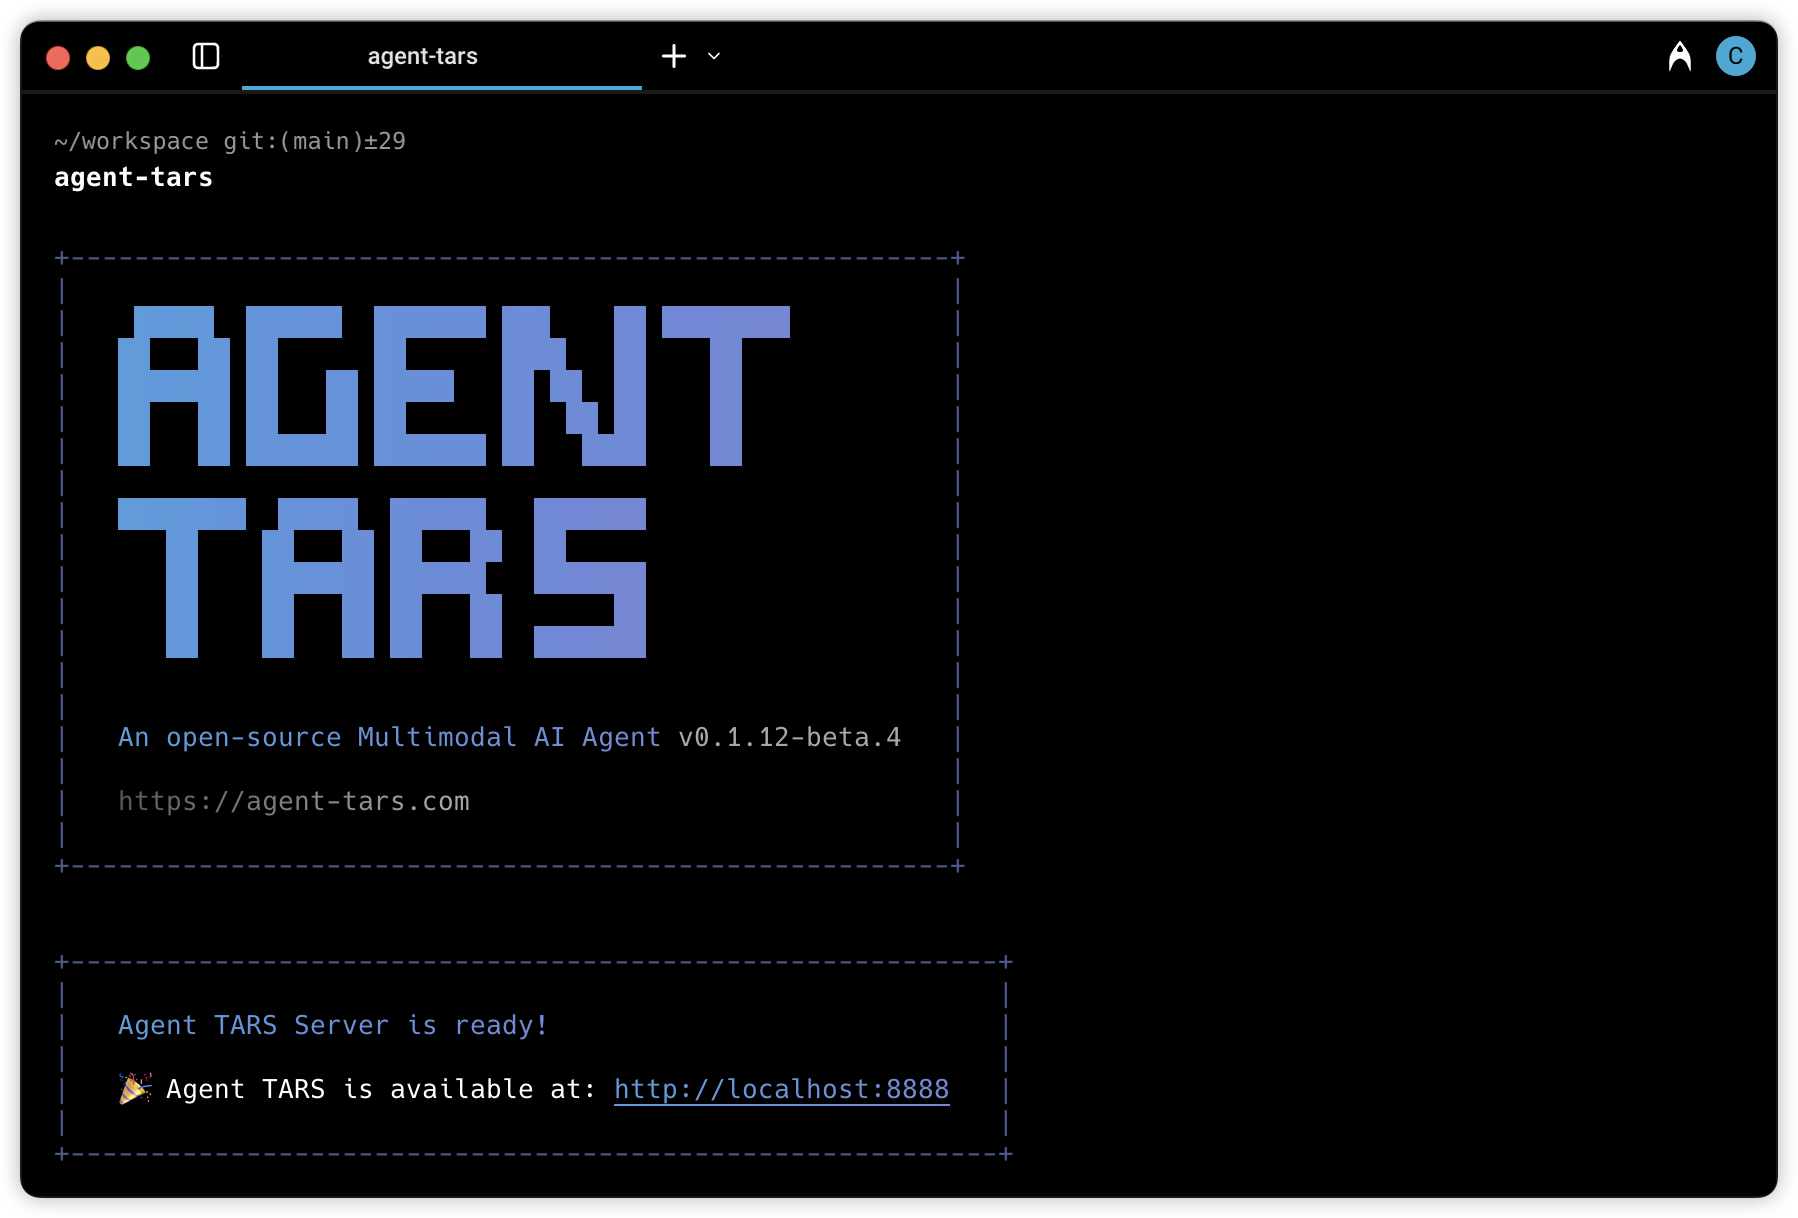
This command will start a web server and display a welcome message with the URL to access the UI.
agent-tars serve
The agent-tars serve command launches a headless Agent TARS Server.
Currently, this command is similar to the interactive UI mode but intended for headless operation.
agent-tars request
The agent-tars request command allows you to send direct requests to LLM providers.
Example:
agent-tars run
The agent-tars run command executes Agent TARS in silent mode and outputs results to stdout.
Example:
agent-tars workspace
The agent-tars workspace command helps you manage Agent TARS workspaces.
Create a global workspace
The --init option creates a new Agent TARS workspace with configuration files:
During initialization, you'll be prompted to select:
- Configuration format (TypeScript, JSON, or YAML)
- Default model provider
- Whether to initialize a git repository
Opening global workspace
The --open option opens your workspace in VSCode if available:
This command will open the global workspace located at ~/.agent-tars-workspace.
Configuration files
Agent TARS automatically looks for these configuration files in the current directory:
agent-tars.config.tsagent-tars.config.yml/agent-tars.config.yamlagent-tars.config.jsonagent-tars.config.js
You can specify a custom configuration file using the --config flag:
Multiple configuration files can be specified and will be merged sequentially:
Remote configuration URLs are also supported:
Environment variables
Agent TARS supports environment variables for sensitive information like API keys. When you specify an environment variable name (in all caps) as a value, Agent TARS will use the value of that environment variable:
In this example, Agent TARS will use the values of the OPENAI_API_KEY and OPENAI_BASE_URL environment variables.
